


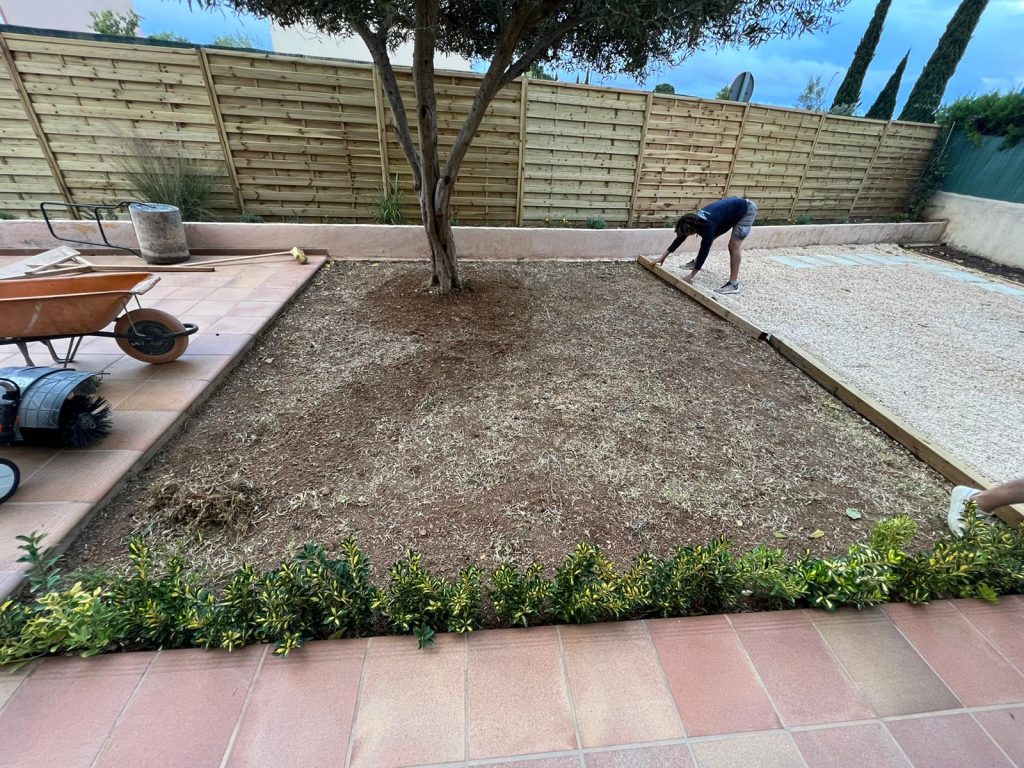
Are you thinking of renovating your garden with artificial turf but don’t know how to install it yourself? Don’t worry! With the help of this video from the GardenStore YouTube channel and this complete guide, we will provide you with a detailed step-by-step to install artificial turf on soil in an effective and lasting manner.
With the right accessories and tools, you can transform your outdoor space into a beautiful place that requires little maintenance. It doesn’t matter if you have pets, a pool, little or a lot of people traffic through the garden, choose the artificial turf that you like the most and install it easily.
We have a video tutorial in which we explain everything easily! Keep reading to discover how to do it!
Tools You Will Need to Install Artificial Turf on Soil
First of all, here is a list of the tools that you will need:
- Brush cutter or hoe
- Bags of sand or gravel
- Shovel
- Roller
- Herbicide
- Anti-weed mesh
- Cutter
- Staples
- Nails
- Self-Adhesive Tape or Joint Tape and Two-Component Adhesive Kit
- Silica sand
- Comb
- And of course, Artificial Turf.
Guide for Installing Artificial Turf on Soil
Step 1: Soil Preparation
The first essential step in installing artificial turf is to prepare the soil properly. Start by clearing the area and removing any grass, weeds, or debris that may hinder the installation or the process.
If you don’t have an electric brush cutter, use the hoe. You will achieve the same goal.
Step 2: Soil Treatment
Once the soil is cleared, spread herbicide all over the soil in order to prevent future weed growth. This step will ensure that your artificial turf remains pristine and weed-free for longer.
Step 3: Soil Leveling
Use sand or gravel to level the soil evenly. Spread the sand over the surface and use a rake to distribute it evenly.
Step 4: Soil Compaction
Wet the soil with a hose and compact the soil with a roller. This step is crucial to ensure a solid and level base that ensures good drainage for your artificial turf.
Step 5: Laying the Anti-Weed Mesh
Once the soil is level, place the anti-weed mesh and adjust it to the perimeter, cutting off the excess material with the cutter. Use nails to fix the mesh to the ground, leaving a uniform distance of 1 meter between each one. Overlap the edges of each piece of anti-weed mesh by about 10 centimeters to prevent weeds from growing between them.
Step 6: Installation of Artificial Turf
Spread the rolls of artificial turf that you have purchased over the anti-weed mesh, separating each piece by half a centimeter for a proper fit. At the same time, be careful that the fibers are all going in the same direction, so that the result is perfect.
Next, it’s time to join the pieces. You have two options: use a joint tape with a two-component kit or a self-adhesive tape:
Option 1: Using Joint Tape and Two-Component Adhesive Kit
Spread the joint tape along the place where the pieces of artificial turf join and pour the two-component adhesive carefully over it. Join the pieces of artificial turf pressing firmly to join securely.
Option 2: Using Self-Adhesive Tape
Place the self-adhesive tape on the anti-weed mesh, underneath the joint area of the pieces of artificial turf and fix the artificial turf on it. Make sure it is properly adhered to avoid lifting.
Step 7: Spreading Silica Sand and Brushing
Spread silica sand over the artificial turf (approximately 4-5 kilos per square meter) to provide weight and stability. Use a brush to distribute the sand evenly and in the opposite direction to the fibers of the turf.
Watch the Video Tutorial on how to Install Artificial Turf on Soil
And there you have it! With these simple steps and the right tools, you can enjoy a beautiful artificial turf in your garden that will remain perfect throughout the year. Do not hesitate to contact artificial turf professionals such as the experts from the GardenStore team if you need additional help or simply prefer that the installation is carried out by a professional. Enjoy your new artificial turf!
